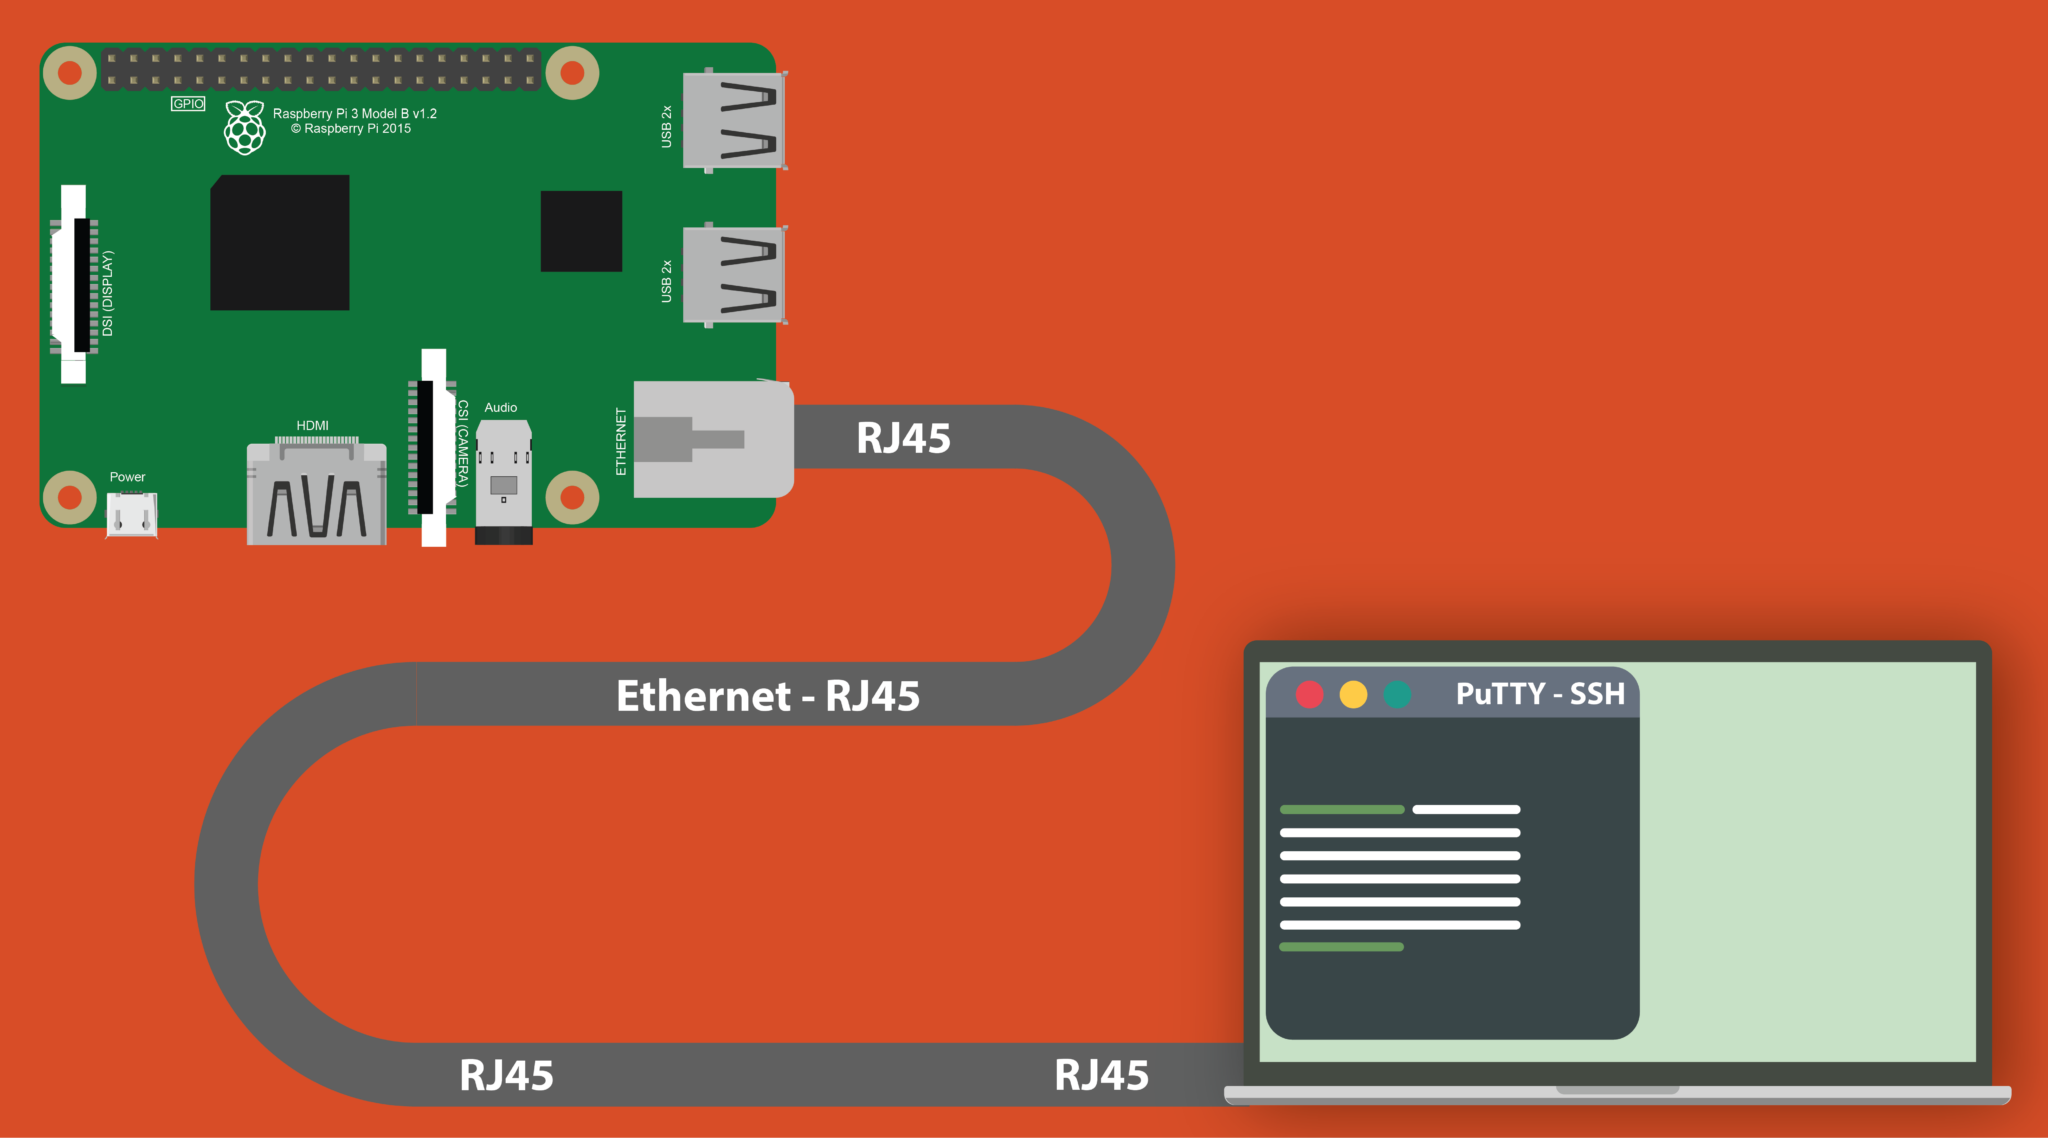
Securing SSH on Raspberry Pi is crucial for protecting your device from unauthorized access and potential cyber threats. As Raspberry Pi continues to grow in popularity for both personal and professional projects, ensuring its security becomes even more important. Whether you're using your Raspberry Pi for home automation, as a server, or for educational purposes, SSH (Secure Shell) is often the primary method of remote access. However, without proper security measures, your Raspberry Pi could be vulnerable to attacks. In this article, we'll explore the best practices for securing SSH on your Raspberry Pi, helping you safeguard your device and data.
SSH is a powerful tool that allows you to remotely access your Raspberry Pi's command line from another computer. While it offers convenience, it also opens up potential security risks if not configured correctly. Hackers often target devices with open SSH ports, making it essential to implement robust security measures. This guide will walk you through step-by-step instructions to secure your SSH connection, covering everything from basic configurations to advanced techniques.
Throughout this article, we'll delve into various methods to enhance your Raspberry Pi's SSH security. We'll discuss how to change default settings, implement firewall rules, and use key-based authentication. Additionally, we'll provide practical tips and best practices to ensure your Raspberry Pi remains protected against unauthorized access. By the end of this guide, you'll have a comprehensive understanding of how to secure SSH on your Raspberry Pi effectively.
Read also:Brittany Zamora A Comprehensive Overview Of The Controversial Case
Table of Contents
- Understanding SSH and Its Importance
- Changing Default SSH Settings
- Implementing Key-Based Authentication
- Setting Up Firewall Rules
- Using Fail2Ban to Prevent Brute Force Attacks
- Configuring Port Forwarding
- Enabling Two-Factor Authentication
- Monitoring SSH Logs for Suspicious Activity
- Best Practices for SSH Security
- Conclusion and Next Steps
Understanding SSH and Its Importance
SSH, or Secure Shell, is a cryptographic network protocol used for secure communication between two devices over an unsecured network. It provides a secure channel over which data can be transmitted, protecting it from eavesdropping, interception, and tampering. For Raspberry Pi users, SSH is particularly valuable as it allows remote access to the device's command line interface without needing physical access.
When using SSH, data is encrypted during transmission, ensuring that sensitive information such as login credentials and commands cannot be intercepted by malicious actors. This encryption is crucial, especially when accessing your Raspberry Pi over the internet. Without proper security measures, open SSH ports can become entry points for attackers, potentially compromising your entire network.
Several common threats target SSH connections, including brute force attacks, where hackers attempt to guess passwords through automated tools, and man-in-the-middle attacks, where attackers intercept communication between two parties. Understanding these risks helps emphasize the importance of implementing robust SSH security measures on your Raspberry Pi.
Changing Default SSH Settings
One of the first steps in securing SSH on your Raspberry Pi is to change the default settings. The default configuration often leaves devices vulnerable to attacks, as many hackers know these settings and exploit them. Here are several key changes you should make:
Changing the Default Port
The default SSH port is 22, which is well-known and frequently targeted by attackers. Changing this to a non-standard port can significantly reduce unauthorized access attempts. To change the SSH port:
- Edit the SSH configuration file:
sudo nano /etc/ssh/sshd_config - Find the line that says
#Port 22and change it to your desired port number - Uncomment the line by removing the
#symbol - Save the file and restart the SSH service:
sudo systemctl restart ssh
Disabling Root Login
Allowing root login via SSH is a significant security risk. Instead, create a standard user account with sudo privileges and disable root login:
Read also:Unveiling The Secrets Of Miaz Girthmaster A Comprehensive Guide
- Create a new user:
sudo adduser newusername - Add the user to the sudo group:
sudo usermod -aG sudo newusername - Edit the SSH configuration file and set
PermitRootLogin no - Restart the SSH service
Limiting User Access
Restrict SSH access to specific users or groups to minimize potential entry points:
- In the SSH configuration file, add:
AllowUsers username1 username2 - Alternatively, use:
AllowGroups groupname - Restart the SSH service after making changes
Implementing Key-Based Authentication
Key-based authentication offers significantly stronger security compared to password-based authentication. This method uses cryptographic key pairs to verify identity, making it much harder for attackers to gain unauthorized access.
Generating SSH Key Pairs
To set up key-based authentication:
- On your local machine, generate a key pair:
ssh-keygen -t rsa -b 4096 - Save the keys in the default location or specify a custom path
- Create a passphrase for added security
Transferring Public Key to Raspberry Pi
After generating the keys:
- Transfer the public key to your Raspberry Pi:
ssh-copy-id username@raspberrypi_ip - Alternatively, manually add the public key to
~/.ssh/authorized_keys - Set appropriate permissions:
chmod 600 ~/.ssh/authorized_keys
Disabling Password Authentication
Once key-based authentication is set up:
- Edit the SSH configuration file
- Set
PasswordAuthentication no - Restart the SSH service
Setting Up Firewall Rules
Implementing firewall rules adds an extra layer of protection to your SSH connection. UFW (Uncomplicated Firewall) is a user-friendly interface for managing iptables firewall rules on Linux systems.
Installing and Enabling UFW
To set up UFW:
- Install UFW:
sudo apt install ufw - Enable UFW:
sudo ufw enable - Allow SSH traffic on your custom port:
sudo ufw allow 12345/tcp(replace 12345 with your custom port)
Configuring Advanced Rules
For enhanced security:
- Limit connection attempts:
sudo ufw limit 12345/tcp - Allow specific IP addresses:
sudo ufw allow from 192.168.1.100 to any port 12345 - Deny all other traffic:
sudo ufw default deny incoming
Using Fail2Ban to Prevent Brute Force Attacks
Fail2Ban is an intrusion prevention software that protects your Raspberry Pi from brute force attacks by monitoring log files and banning IP addresses showing malicious behavior.
Installing Fail2Ban
To install and configure Fail2Ban:
- Install Fail2Ban:
sudo apt install fail2ban - Copy the default configuration file:
sudo cp /etc/fail2ban/jail.conf /etc/fail2ban/jail.local - Edit the configuration file:
sudo nano /etc/fail2ban/jail.local
Configuring Fail2Ban for SSH
In the configuration file:
- Set
enabled = trueunder [sshd] - Adjust ban time:
bantime = 3600(1 hour) - Set max retries:
maxretry = 3 - Restart Fail2Ban service:
sudo systemctl restart fail2ban
Configuring Port Forwarding
When accessing your Raspberry Pi remotely over the internet, proper port forwarding configuration is essential for maintaining security.
Setting Up Port Forwarding on Your Router
To configure port forwarding:
- Access your router's admin interface
- Create a new port forwarding rule
- Forward your custom SSH port to your Raspberry Pi's local IP address
- Use a static IP address for your Raspberry Pi
Security Considerations for Port Forwarding
To enhance security:
- Use a non-standard port for SSH
- Implement IP whitelisting when possible
- Regularly check your router's logs for suspicious activity
- Consider using a dynamic DNS service for easier remote access
Enabling Two-Factor Authentication
Two-factor authentication (2FA) adds an additional layer of security by requiring not just a password or key, but also a second factor, typically a code generated by an authentication app.
Setting Up Google Authenticator
To enable 2FA:
- Install Google Authenticator:
sudo apt install libpam-google-authenticator - Run the setup wizard:
google-authenticator - Follow the prompts to configure your authentication
- Save the emergency codes in a secure location
Configuring PAM for 2FA
To integrate 2FA with SSH:
- Edit the PAM configuration:
sudo nano /etc/pam.d/sshd - Add:
auth required pam_google_authenticator.so - Edit the SSH configuration file and set
ChallengeResponseAuthentication yes - Restart the SSH service
Monitoring SSH Logs for Suspicious Activity
Regularly monitoring your SSH logs helps identify potential security threats and unauthorized access attempts.
Viewing SSH Logs
To access SSH logs:
- Check the auth log:
sudo tail -f /var/log/auth.log - Use journalctl:
sudo journalctl -u ssh - Set up log rotation to prevent log files from becoming too large
Setting Up Log Monitoring Tools
For automated monitoring:
- Install logwatch:
sudo apt install logwatch - Configure daily email reports
- Set up alerts for specific events or patterns
Best Practices for SSH Security
Implementing these best practices ensures comprehensive protection for your Raspberry Pi's SSH connection:
- Regularly update your Raspberry Pi's operating system and software
- Use strong, unique passwords for all user accounts
- Implement regular security audits and vulnerability scans
- Keep backups of important data and configuration files
- Use a hardware firewall if possible
Conclusion and Next Steps
Securing SSH on your Raspberry Pi is an ongoing process that requires attention to detail and regular maintenance. By implementing the methods discussed in this article – from changing
![[RPi] SSH (Secure Shell) กับ Raspberry Pi บนหลาย ๆ แพลตฟอร์ม by](https://miro.medium.com/max/1400/1*abGND8po8_nkYlHZkuzEHw.png)
