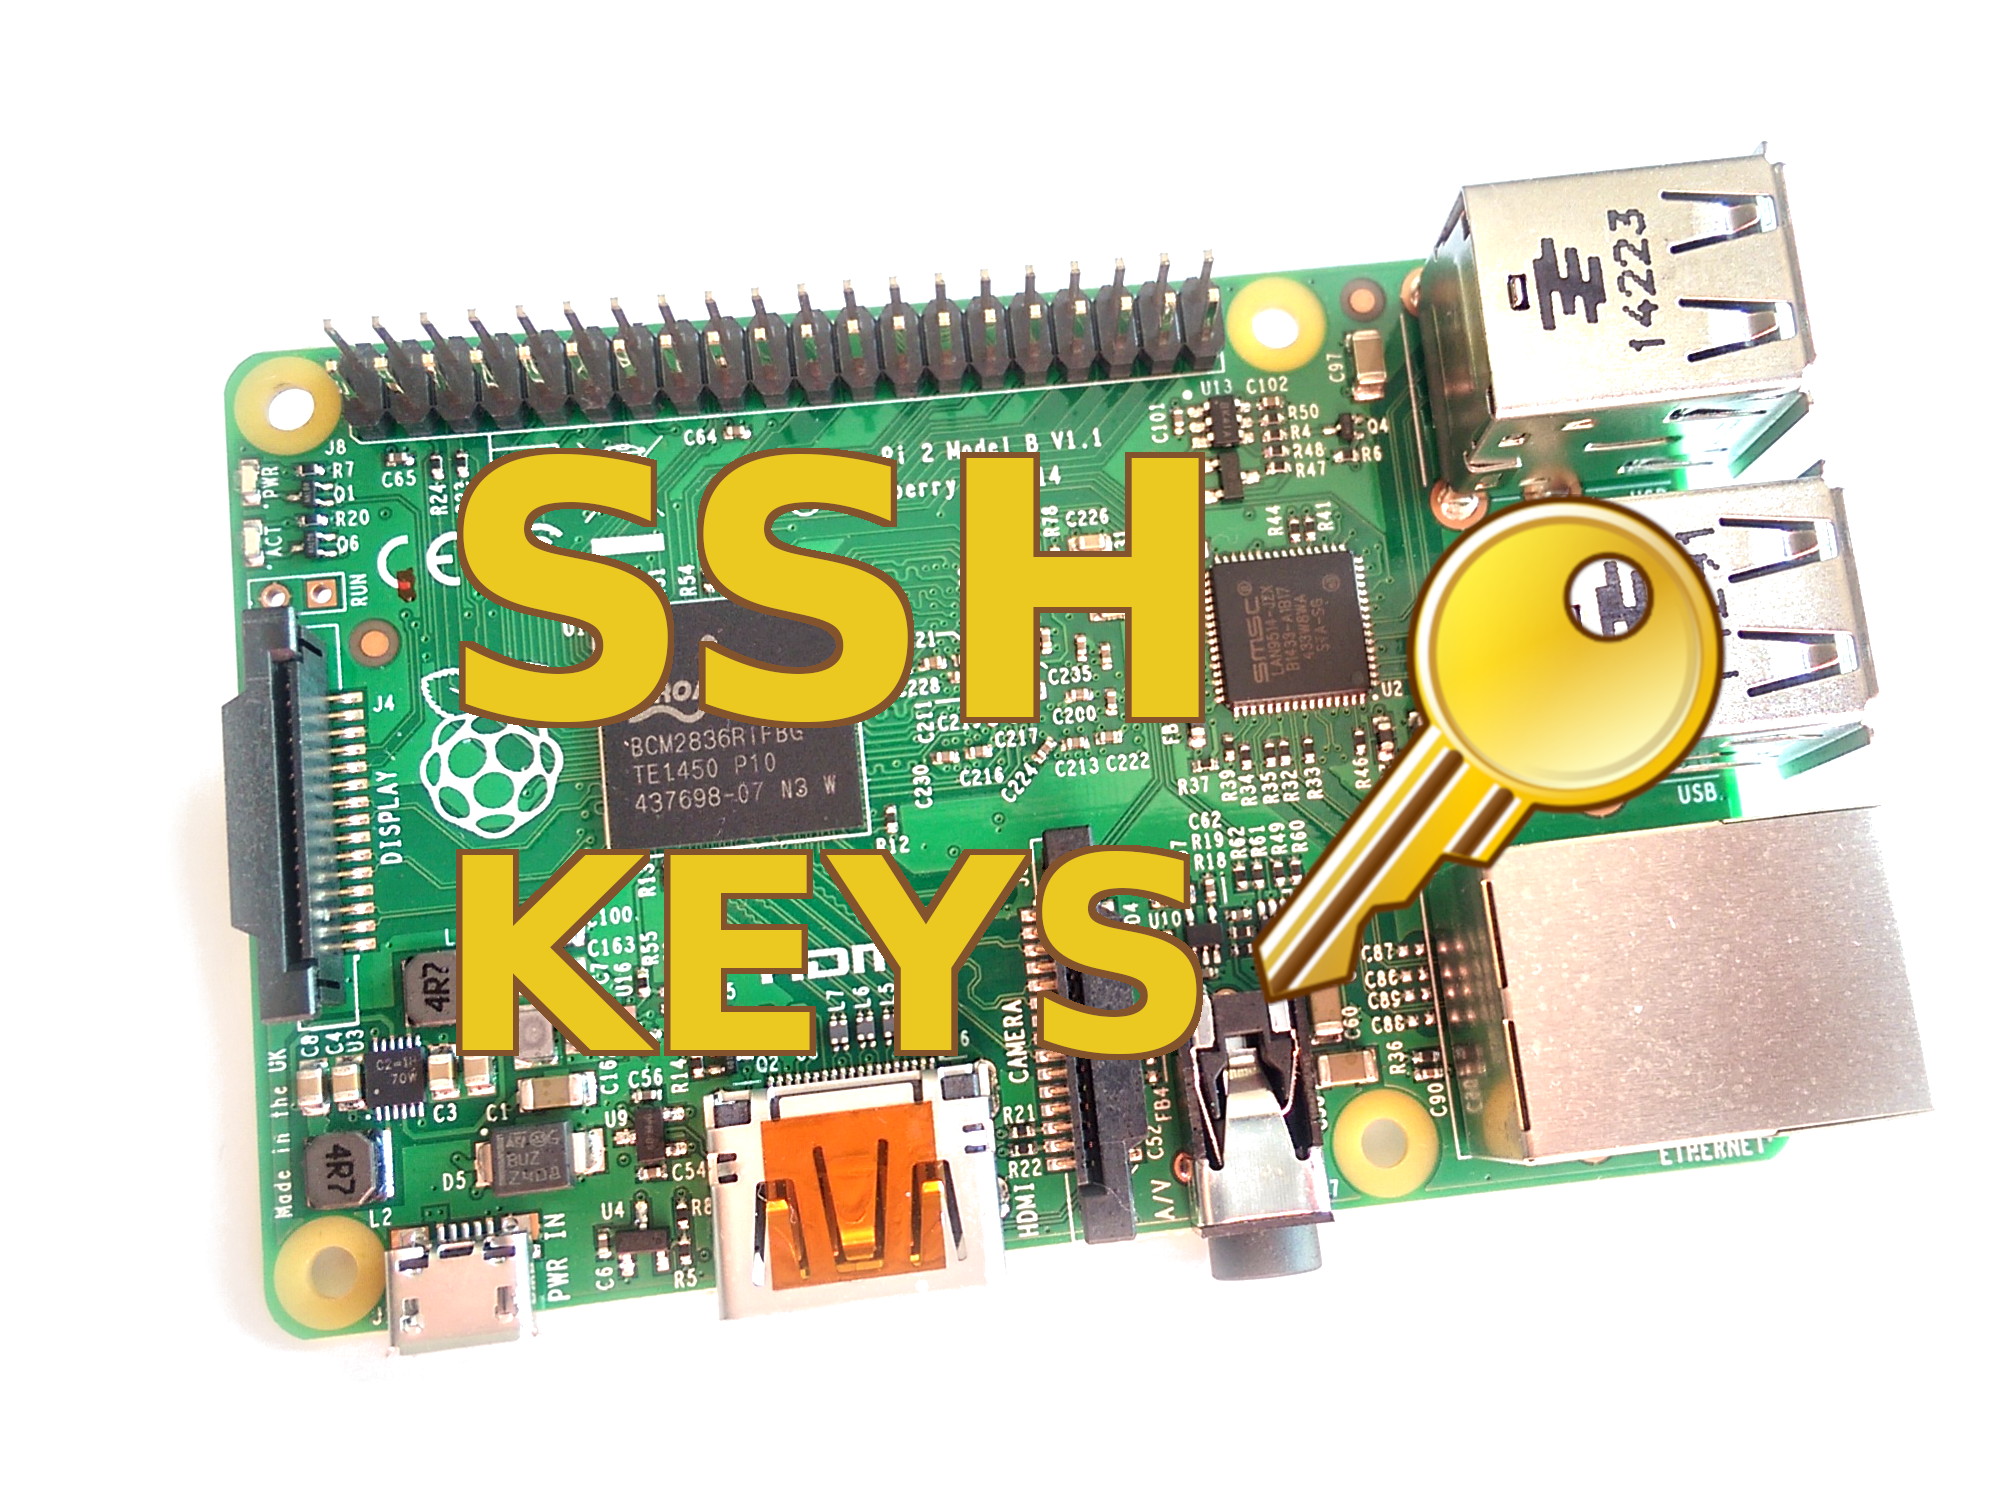
Are you looking for the best remote IoT platform that offers SSH key management for free Raspberry Pi projects? Managing remote devices can be challenging, especially when working with budget-friendly hardware like Raspberry Pi. However, with the right platform, you can unlock the full potential of your IoT projects without breaking the bank. RemoteIoT platforms provide secure, reliable, and efficient ways to manage your devices remotely, and when paired with SSH key authentication, they offer a seamless experience for developers and hobbyists alike. Whether you're building a smart home system, a weather station, or a robotics project, finding the right platform is crucial for success.
RemoteIoT platforms are designed to simplify the complexities of remote device management. These platforms often come with features like secure access, real-time monitoring, and automated updates, making them indispensable for IoT enthusiasts. By integrating SSH key authentication, users can ensure secure communication between their devices and the platform, eliminating the risks associated with password-based access. Best of all, many platforms offer free tiers specifically tailored for Raspberry Pi users, enabling you to experiment and innovate without worrying about costs. This article will guide you through the process of selecting the best remote IoT platform, setting up SSH keys, and leveraging these tools to maximize your Raspberry Pi projects.
With the growing popularity of IoT, the demand for efficient remote management solutions has skyrocketed. Raspberry Pi, known for its versatility and affordability, has become a favorite among developers and hobbyists. However, managing these devices remotely requires a robust platform that offers both functionality and security. In this article, we will explore the top remote IoT platforms that support SSH key authentication for free Raspberry Pi usage. We'll also provide step-by-step instructions on how to set up SSH keys, troubleshoot common issues, and optimize your IoT projects for success. Let’s dive in and discover how you can take your Raspberry Pi projects to the next level with the best remote IoT platform.
Read also:Secure Spend Gift Card Activation A Comprehensive Guide
Table of Contents
- What Makes the Best RemoteIoT Platform for Raspberry Pi?
- How to Set Up SSH Keys for Free Raspberry Pi on RemoteIoT Platforms?
- Top Features to Look for in a RemoteIoT Platform
- Why SSH Keys Are Essential for RemoteIoT Security?
- Step-by-Step Guide to Configuring SSH on Raspberry Pi
- How Can You Troubleshoot Common SSH Issues on Raspberry Pi?
- Best Practices for Using RemoteIoT Platforms with Raspberry Pi
- Frequently Asked Questions About RemoteIoT and Raspberry Pi
What Makes the Best RemoteIoT Platform for Raspberry Pi?
Choosing the best remote IoT platform for your Raspberry Pi project requires careful consideration of several factors. The platform should not only be compatible with Raspberry Pi but also offer features that enhance security, usability, and scalability. One of the most critical aspects to consider is the platform's ability to support SSH key authentication. SSH keys provide a secure way to access your Raspberry Pi remotely, eliminating the vulnerabilities associated with password-based authentication. By leveraging SSH keys, you can ensure that only authorized users can access your devices, reducing the risk of unauthorized access and potential security breaches.
Another important factor is the platform's ease of use. A good remote IoT platform should have an intuitive interface that allows users to manage their devices effortlessly. Features like drag-and-drop dashboards, real-time analytics, and automated updates can significantly enhance the user experience. Additionally, the platform should offer comprehensive documentation and customer support to help users troubleshoot issues and optimize their projects. For Raspberry Pi users, platforms that provide free tiers or open-source options are particularly appealing, as they allow for experimentation without financial commitment.
Scalability is another key consideration. As your IoT projects grow, your platform should be able to accommodate additional devices and users without compromising performance. Look for platforms that offer flexible pricing plans and support for a wide range of devices. Compatibility with other IoT protocols and technologies, such as MQTT and REST APIs, can also be beneficial. By selecting a platform that aligns with your project's needs, you can ensure long-term success and scalability. With the right remote IoT platform, you can unlock the full potential of your Raspberry Pi projects and achieve your IoT goals efficiently and securely.
How to Set Up SSH Keys for Free Raspberry Pi on RemoteIoT Platforms?
Setting up SSH keys for your Raspberry Pi on a remote IoT platform is a straightforward process that significantly enhances the security of your device. SSH keys provide a secure method of authentication, replacing the need for passwords and reducing the risk of unauthorized access. To begin, you'll need to generate an SSH key pair on your local machine. This key pair consists of a private key, which remains on your local machine, and a public key, which you will upload to your Raspberry Pi. Most remote IoT platforms provide detailed instructions on how to generate and configure SSH keys, ensuring a seamless setup process.
Once you have generated your SSH key pair, the next step is to upload the public key to your Raspberry Pi. This can typically be done through the platform's web interface or by manually editing the authorized_keys file on your Raspberry Pi. Many remote IoT platforms offer tools and features that simplify this process, allowing you to upload your public key with just a few clicks. After uploading the key, you can disable password-based authentication on your Raspberry Pi to further enhance security. This ensures that only devices with the corresponding private key can access your Raspberry Pi, providing an additional layer of protection against potential threats.
Finally, it's essential to test your SSH key setup to ensure everything is functioning correctly. You can do this by attempting to connect to your Raspberry Pi using the private key from your local machine. If the connection is successful, you have successfully configured SSH key authentication. Many remote IoT platforms also offer monitoring and logging features that allow you to track SSH access attempts and detect any suspicious activity. By following these steps, you can set up SSH keys for your Raspberry Pi on a remote IoT platform, ensuring secure and reliable remote access for your IoT projects.
Read also:Discovering Cazale A Comprehensive Guide To This Hidden Gem
Top Features to Look for in a RemoteIoT Platform
Secure Access and Authentication
When evaluating remote IoT platforms, secure access and authentication should be at the top of your list. A platform that prioritizes security will offer robust features like multi-factor authentication (MFA), role-based access control (RBAC), and SSH key management. Multi-factor authentication adds an extra layer of security by requiring users to provide two or more verification factors to access the platform. Role-based access control allows administrators to define user roles and permissions, ensuring that only authorized individuals can perform specific actions. These features are particularly important for Raspberry Pi users, as they help protect sensitive data and prevent unauthorized access to devices.
Real-Time Monitoring and Control
Real-time monitoring and control are essential features for any remote IoT platform. These capabilities allow users to track device performance, receive instant alerts, and make adjustments on the fly. For Raspberry Pi projects, real-time monitoring can help identify potential issues before they escalate, ensuring smooth operation and minimizing downtime. Many platforms offer customizable dashboards that display key metrics, such as CPU usage, memory consumption, and network activity. Additionally, control features like remote rebooting and configuration updates enable users to manage their devices efficiently, even when they are miles away. By leveraging these tools, you can optimize your Raspberry Pi projects and ensure they run smoothly.
Why SSH Keys Are Essential for RemoteIoT Security?
SSH keys play a crucial role in securing remote IoT platforms, particularly when managing devices like Raspberry Pi. Unlike traditional password-based authentication, SSH keys use cryptographic algorithms to ensure secure communication between devices. This eliminates the risk of brute-force attacks, where hackers attempt to guess passwords to gain unauthorized access. SSH keys are also more convenient, as they eliminate the need to remember complex passwords and reduce the likelihood of human error. By implementing SSH keys, users can enjoy a seamless and secure connection to their devices, enhancing the overall security of their IoT projects.
Another advantage of SSH keys is their ability to provide granular access control. Each SSH key pair is unique, meaning that only devices with the corresponding private key can access the Raspberry Pi. This allows administrators to grant access to specific users or devices without compromising the security of the entire system. Additionally, SSH keys can be easily revoked or regenerated, providing an added layer of flexibility. Many remote IoT platforms offer built-in support for SSH keys, making it easy for users to configure and manage their keys. By prioritizing SSH key authentication, you can ensure that your Raspberry Pi projects remain secure and protected from potential threats.
Step-by-Step Guide to Configuring SSH on Raspberry Pi
Enabling SSH on Raspberry Pi
Before you can use SSH to access your Raspberry Pi remotely, you need to enable the SSH service. This can be done in several ways, depending on your setup. If you're using the Raspberry Pi OS, you can enable SSH by placing a file named "ssh" (without any extension) in the boot directory of your SD card. Alternatively, you can enable SSH through the Raspberry Pi Configuration tool by navigating to "Preferences"> "Raspberry Pi Configuration"> "Interfaces" and selecting "Enable" for SSH. Once SSH is enabled, your Raspberry Pi will be ready to accept remote connections, allowing you to manage it securely from anywhere in the world.
Generating and Adding SSH Keys
After enabling SSH, the next step is to generate and add SSH keys to your Raspberry Pi. To generate an SSH key pair, open a terminal on your local machine and run the command ssh-keygen. This will create a private and public key pair, which will be stored in the ~/.ssh/ directory. Once the keys are generated, you can copy the public key to your Raspberry Pi using the ssh-copy-id command. For example, ssh-copy-id pi@your_raspberry_pi_ip will copy the public key to the Raspberry Pi. After adding the key, you can test the connection by running ssh pi@your_raspberry_pi_ip. If the connection is successful, you have successfully configured SSH keys for your Raspberry Pi.
How Can You Troubleshoot Common SSH Issues on Raspberry Pi?
Despite its many advantages, SSH can sometimes present challenges, especially for beginners. One common issue is connection refusal, which occurs when the Raspberry Pi's SSH service is not running or the IP address is incorrect. To resolve this, ensure that SSH is enabled on your Raspberry Pi and that you are using the correct IP address. You can check the IP address by running hostname -I on your Raspberry Pi. Another common issue is permission denied errors, which can occur if the SSH key is not properly configured or if the file permissions are incorrect. To fix this, verify that the public key is added to the ~/.ssh/authorized_keys file and that the file permissions are set to 600.
Network-related issues can also prevent SSH connections. For example, firewalls or network configurations may block SSH traffic. To address this, ensure that port 22 (the default SSH port) is open on your network and that any firewalls are configured to allow SSH traffic. If you're still experiencing issues, you can increase the verbosity of the SSH client by using the -v flag (e.g., ssh -v pi@your_raspberry_pi_ip) to get more detailed error messages. By following these troubleshooting steps, you can resolve common SSH issues and ensure a smooth and secure connection to your Raspberry Pi.
Best Practices for Using RemoteIo