Reconnecting a car battery is an essential skill every car owner should have in their toolkit. Whether your battery has been disconnected for maintenance, cleaning, or replacement, knowing how to safely reconnect it ensures your vehicle runs smoothly and avoids potential electrical damage. This process might seem straightforward, but there are critical steps you must follow to avoid short circuits, sparks, or even personal injury. With the right tools and precautions, you can confidently handle this task without needing professional help.
While many people overlook the importance of properly reconnecting a car battery, skipping the correct procedures can lead to costly repairs or even damage your car's electrical system. Imagine turning the key in the ignition only to find your dashboard lights flickering or your engine refusing to start—this could happen if the battery isn't reconnected correctly. Fortunately, mastering this process is easier than you might think, and we’re here to guide you every step of the way.
In this article, we’ll explore everything you need to know about reconnecting a car battery, from preparation to troubleshooting common issues. By the end, you’ll feel empowered to tackle this task on your own, saving both time and money. So, let’s dive in and uncover the details that will make you a pro at reconnecting your car battery!
Read also:Who Is Emma Watson A Comprehensive Guide To Her Life And Career
Table of Contents
- Why Is Reconnecting a Car Battery Important?
- What Tools Do You Need to Reconnect a Car Battery?
- How to Prepare Your Car for Battery Reconnection
- Step-by-Step Guide to Reconnecting a Car Battery
- Common Mistakes to Avoid When Reconnecting a Car Battery
- How Can You Test If the Battery Is Working Properly?
- What to Do If Your Car Doesn’t Start After Reconnecting the Battery?
- Frequently Asked Questions About Reconnecting a Car Battery
Why Is Reconnecting a Car Battery Important?
Reconnecting a car battery is more than just a routine task—it’s a crucial step in maintaining your vehicle’s performance and longevity. The car battery powers essential components like the starter motor, ignition system, and onboard electronics. Without a properly connected battery, your vehicle simply won’t function. This is why understanding the importance of reconnecting a car battery correctly is vital for every car owner.
When a battery is disconnected, the electrical system loses its primary power source. Reconnecting it restores the flow of electricity, but doing so incorrectly can lead to electrical shorts, blown fuses, or even permanent damage to sensitive components. For example, reversing the polarity (connecting the positive and negative terminals incorrectly) can cause irreversible harm to your car's computer system. This is why precision and care are required during this process.
Moreover, reconnecting a car battery is often necessary after routine maintenance or when replacing an old battery. It’s also a step you’ll need to take if your battery has been disconnected for storage or cleaning. Properly reconnecting the battery ensures that your vehicle’s electrical system operates as intended, providing peace of mind and preventing unnecessary repairs. By learning the correct procedures, you can avoid costly mistakes and keep your car running smoothly for years to come.
What Tools Do You Need to Reconnect a Car Battery?
Before you begin the process of reconnecting a car battery, it’s essential to gather the right tools. Having the proper equipment on hand not only makes the task easier but also ensures your safety and the integrity of your vehicle’s electrical system. Below is a list of tools and materials you’ll need:
- Socket Wrench Set: This is used to loosen and tighten the battery terminal clamps. A 10mm or 13mm socket is typically required, depending on your vehicle.
- Wire Brush or Terminal Cleaner: Over time, battery terminals can accumulate corrosion. A wire brush or terminal cleaner helps remove this buildup, ensuring a strong connection.
- Gloves and Safety Glasses: Safety should always come first. Wear gloves to protect your hands from acid and corrosion, and use safety glasses to shield your eyes from sparks or debris.
- Baking Soda and Water Solution: If the terminals are heavily corroded, a mixture of baking soda and water can neutralize the acid and make cleaning easier.
- Dielectric Grease or Petroleum Jelly: Applying this to the terminals after reconnecting the battery helps prevent future corrosion.
Having these tools ready ensures that you can complete the task efficiently and safely. Neglecting any of these items could lead to complications, such as difficulty removing the terminal clamps or failing to clean the terminals properly. By preparing ahead of time, you’ll be equipped to handle any challenges that arise during the process.
How to Prepare Your Car for Battery Reconnection
Safety First: Protect Yourself and Your Vehicle
Before you begin reconnecting a car battery, taking the necessary safety precautions is crucial. Safety measures not only protect you from potential hazards but also prevent damage to your vehicle. Start by parking your car on a flat, stable surface and turning off the engine. Ensure the parking brake is engaged to prevent the vehicle from moving unexpectedly.
Read also:Rihanna The Multifaceted Icon Revolutionizing Music Fashion And Philanthropy
Next, wear protective gear such as gloves and safety glasses. These items shield you from battery acid and any sparks that might occur during the reconnection process. It’s also a good idea to remove any metal jewelry or accessories, as they can conduct electricity and pose a risk of electric shock. Additionally, keep a fire extinguisher rated for electrical fires nearby, just in case.
Connecting the Cables in the Right Order
Once you’ve taken the necessary safety precautions, it’s time to prepare the battery terminals for reconnection. Begin by inspecting the terminals for corrosion or dirt. If you notice any buildup, use a wire brush or terminal cleaner to remove it. For stubborn corrosion, apply a baking soda and water solution to neutralize the acid.
After cleaning the terminals, ensure they are completely dry before proceeding. Applying a small amount of dielectric grease or petroleum jelly to the terminals can help prevent future corrosion. Finally, double-check that all tools and materials are within reach. This preparation ensures a smooth and efficient reconnection process, minimizing the risk of errors or complications.
Step-by-Step Guide to Reconnecting a Car Battery
Now that you’ve prepared your car and gathered the necessary tools, it’s time to dive into the step-by-step process of reconnecting a car battery. Following these instructions carefully will ensure a safe and successful reconnection.
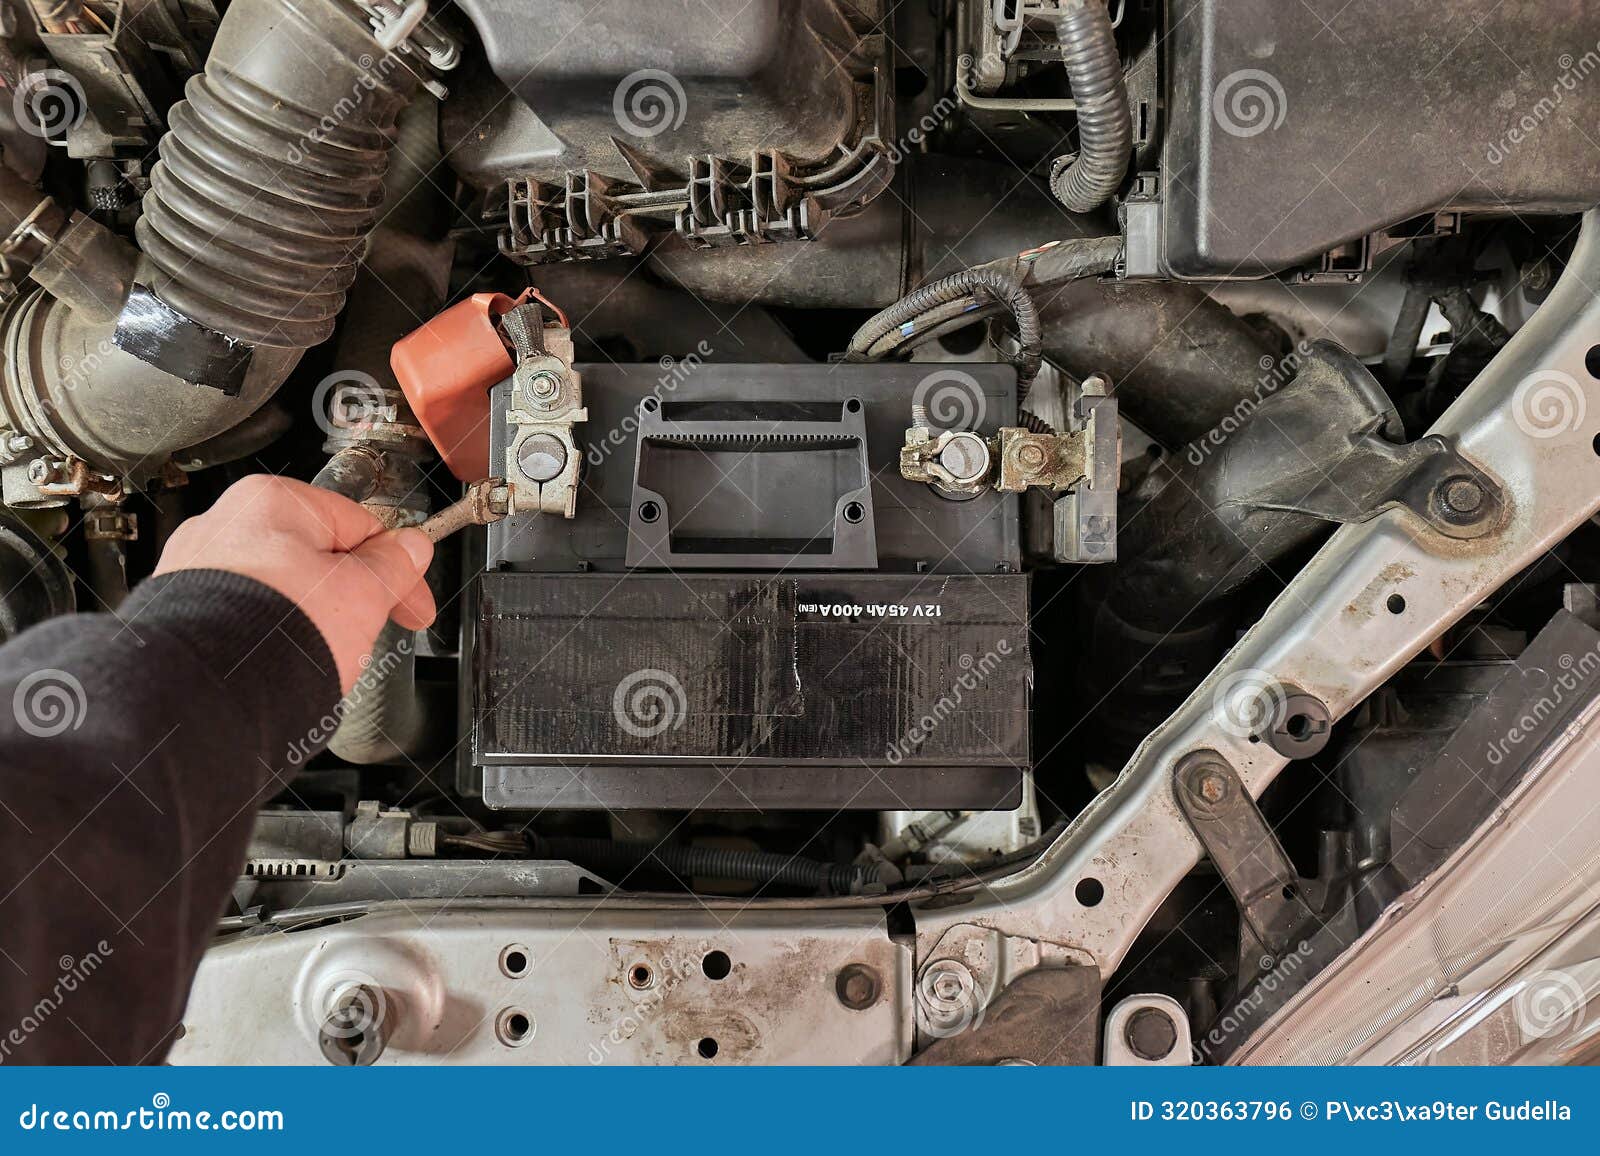
- Locate the Battery: Open the hood of your car and locate the battery. It’s usually found near the front of the engine bay, but some vehicles have it in the trunk or under the rear seat.
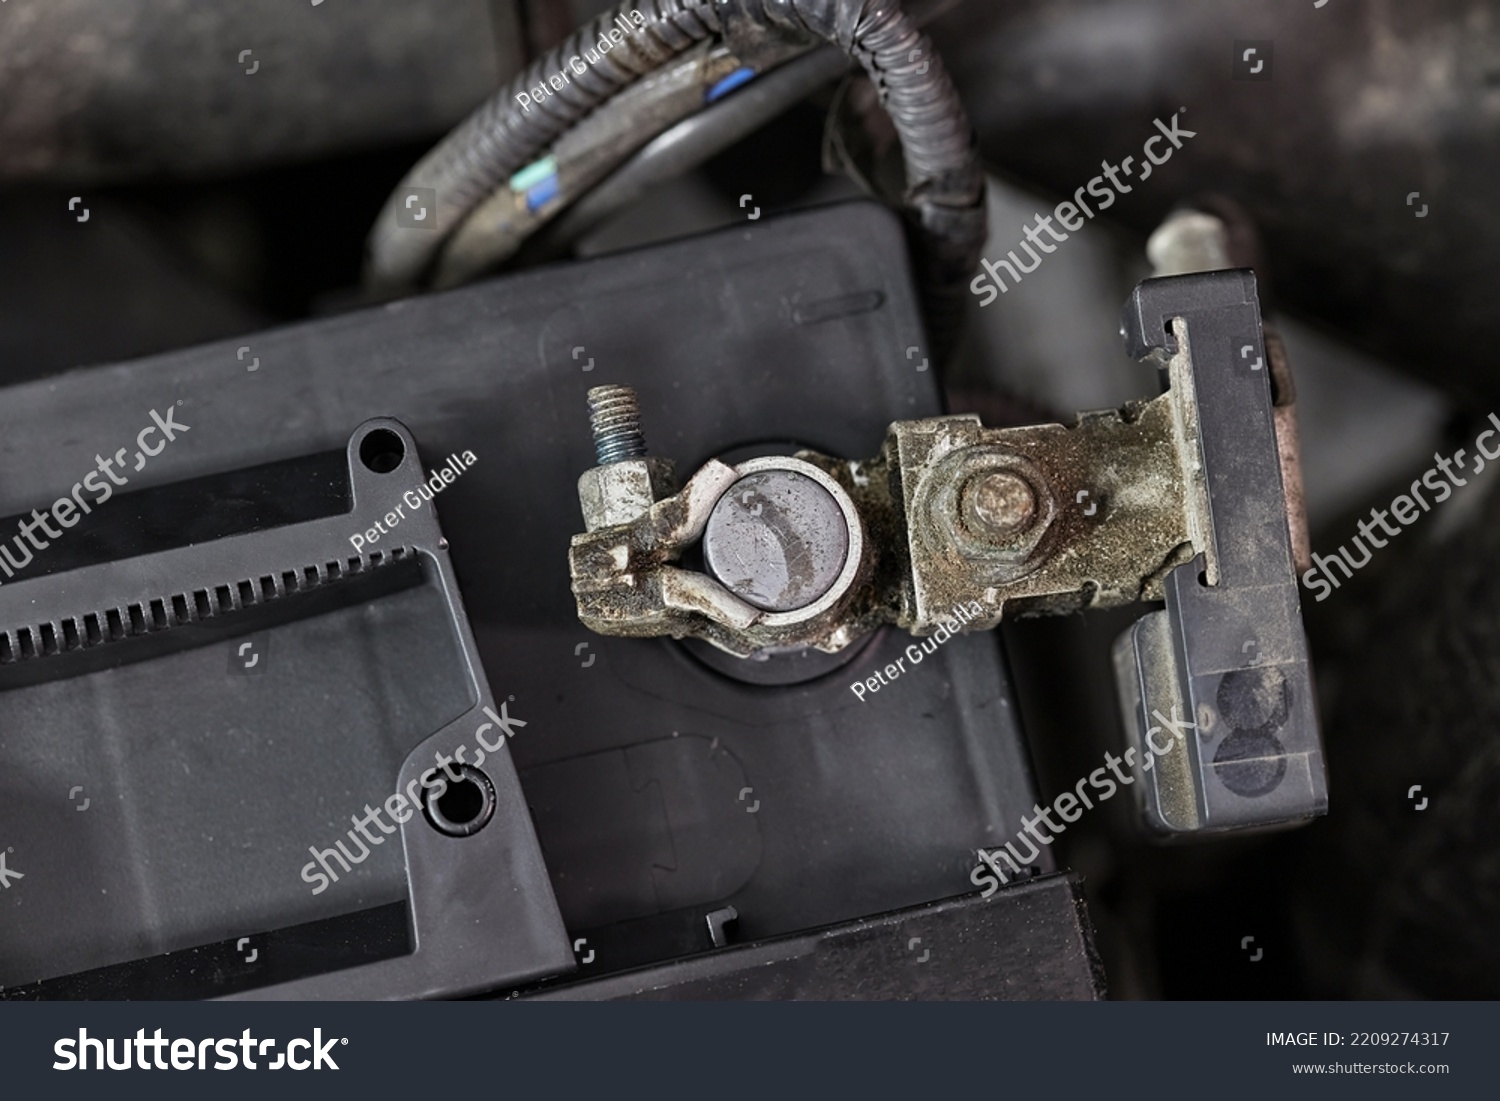
- Identify the Terminals: Batteries have two terminals: positive (+) and negative (-). The positive terminal is usually marked with a red cover or "+" symbol, while the negative terminal is marked with a black cover or "-" symbol.
- Connect the Positive Terminal First: Using your socket wrench, attach the positive cable to the positive terminal. Tighten the clamp securely, ensuring a firm connection.
- Connect the Negative Terminal Next: Once the positive terminal is secure, attach the negative cable to the negative terminal. Again, tighten the clamp firmly to avoid loose connections.
- Double-Check Connections: Inspect both terminals to ensure they are tightly connected and free of corrosion. Wiggle the cables gently to confirm they are secure.
- Test the System: Turn the key in the ignition to verify that the car starts. If everything is functioning correctly, you’ve successfully reconnected the battery.
By following these steps in order, you minimize the risk of electrical shorts or other issues. Remember, always connect the positive terminal first and the negative terminal last to avoid sparks or potential damage to your vehicle’s electrical system.
Common Mistakes to Avoid When Reconnecting a Car Battery
Even experienced car owners can make mistakes when reconnecting a car battery. These errors, though seemingly minor, can lead to significant problems, including electrical damage or personal injury. Here are some common pitfalls to watch out for:
- Reversing the Polarity: Connecting the positive and negative cables to the wrong terminals is a critical mistake. This can cause sparks, damage the car’s electronics, or even result in a fire.
- Loose Connections: Failing to tighten the terminal clamps securely can lead to intermittent power loss or poor electrical conductivity.
- Ignoring Corrosion: Neglecting to clean the terminals before reconnecting the battery can result in poor contact and reduced battery performance.
- Forgetting Safety Precautions: Skipping protective gear or failing to turn off the engine can put you at risk of electric shock or injury.
- Using Damaged Tools: Using worn-out or improper tools can make the task more difficult and increase the likelihood of mistakes.
By being aware of these common mistakes, you can take proactive steps to avoid them. Taking your time and following the correct procedures ensures a safe and successful battery reconnection.
How Can You Test If the Battery Is Working Properly?
Once you’ve completed the process of reconnecting a car battery, it’s important to verify that the battery is functioning as expected. Testing the battery ensures that your vehicle’s electrical system is receiving adequate power and that the reconnection was successful. Here’s how you can test your car battery:
First, turn the key in the ignition and observe the dashboard lights. If the lights illuminate and the engine cranks smoothly, the battery is likely functioning properly. However, if the lights are dim or the engine struggles to start, the battery may be weak or improperly connected. In such cases, double-check the terminal connections to ensure they are tight and free of corrosion.
For a more accurate assessment, consider using a multimeter to measure the battery’s voltage. A fully charged battery should read around 12.6 volts when the engine is off. If the reading is significantly lower, the battery may need to be charged or replaced. Additionally, you can take the car for a short drive to allow the alternator to recharge the battery. If the battery still fails to hold a charge, it’s advisable to consult a professional mechanic for further diagnosis.
What to Do If Your Car Doesn’t Start After Reconnecting the Battery?
Encountering issues after reconnecting a car battery can be frustrating, but don’t panic. There are several potential reasons why your car might not start, and troubleshooting the problem can help you identify the root cause. Here are some steps to take if your car refuses to start:
- Check the Connections: Ensure that the battery terminals are securely connected and free of corrosion. Loose or dirty connections can prevent the battery from delivering power to the engine.
- Inspect the Battery: Verify that the battery has enough charge. A dead or weak battery won’t provide sufficient power to start the car. Use a multimeter to check the voltage, or listen for a clicking sound when you turn the key, which may indicate a low charge.
- Examine the Fuses: Blown fuses can disrupt the electrical system and prevent the car from starting. Check the fuse box for any damaged fuses and replace them if necessary.
- Test the Alternator: If the battery was recently charged but still fails to hold power, the alternator may not be functioning properly. A faulty