Setting up Raspberry Pi for remote IO operations opens up endless possibilities for automation, data logging, and IoT projects. Whether you're a hobbyist or a professional, mastering this setup can significantly enhance your projects' capabilities. In this guide, we will explore everything you need to know to set up Raspberry Pi for remote IO operations without any additional cost.
Remote IO setup is a popular choice for individuals looking to control devices remotely or integrate hardware components into larger systems. By leveraging the capabilities of Raspberry Pi, you can create efficient, scalable, and cost-effective solutions tailored to your needs.
This article will provide a step-by-step guide to setting up Raspberry Pi for remote IO operations, ensuring that even beginners can follow along. We'll cover essential configurations, software installations, and troubleshooting tips to ensure a seamless experience.
Read also:Never In My Bingo Card Meaning A Comprehensive Guide To Understanding This Popular Phrase
Table of Contents
- Introduction to Raspberry Pi Remote IO Setup
- Benefits of Raspberry Pi Remote IO
- Hardware Requirements
- Software Setup for Raspberry Pi Remote IO
- Network Configuration
- GPIO Pin Setup
- Programming Languages for Remote IO
- Automation with Raspberry Pi Remote IO
- Troubleshooting Common Issues
- Conclusion and Next Steps
Introduction to Raspberry Pi Remote IO Setup
Raspberry Pi has revolutionized the world of computing and electronics by providing a low-cost, high-performance platform for developers and hobbyists. One of its standout features is the ability to perform remote IO operations, enabling users to control hardware components from a distance.
This section will introduce the concept of remote IO and explain why Raspberry Pi is an ideal choice for such setups. We'll also discuss the benefits of setting up Raspberry Pi for remote IO operations and how it can enhance your projects.
Why Choose Raspberry Pi for Remote IO?
Raspberry Pi offers several advantages for remote IO setups, including:
- Cost-effective hardware
- Rich community support
- Compatibility with various programming languages
- Flexibility for customization
Benefits of Raspberry Pi Remote IO
Setting up Raspberry Pi for remote IO operations provides numerous benefits, making it an attractive option for both personal and professional projects. Below are some of the key advantages:
Enhanced Automation
Raspberry Pi allows for seamless integration with automation systems, enabling users to control devices remotely and automate repetitive tasks.
Scalability
With its modular design, Raspberry Pi can be easily scaled to accommodate more complex projects as your needs grow.
Read also:Axl Rose Currently Married Unveiling The Life And Relationships Of Rocks Iconic Frontman
Cost Efficiency
Compared to other solutions, Raspberry Pi offers a cost-effective way to implement remote IO setups without compromising performance.
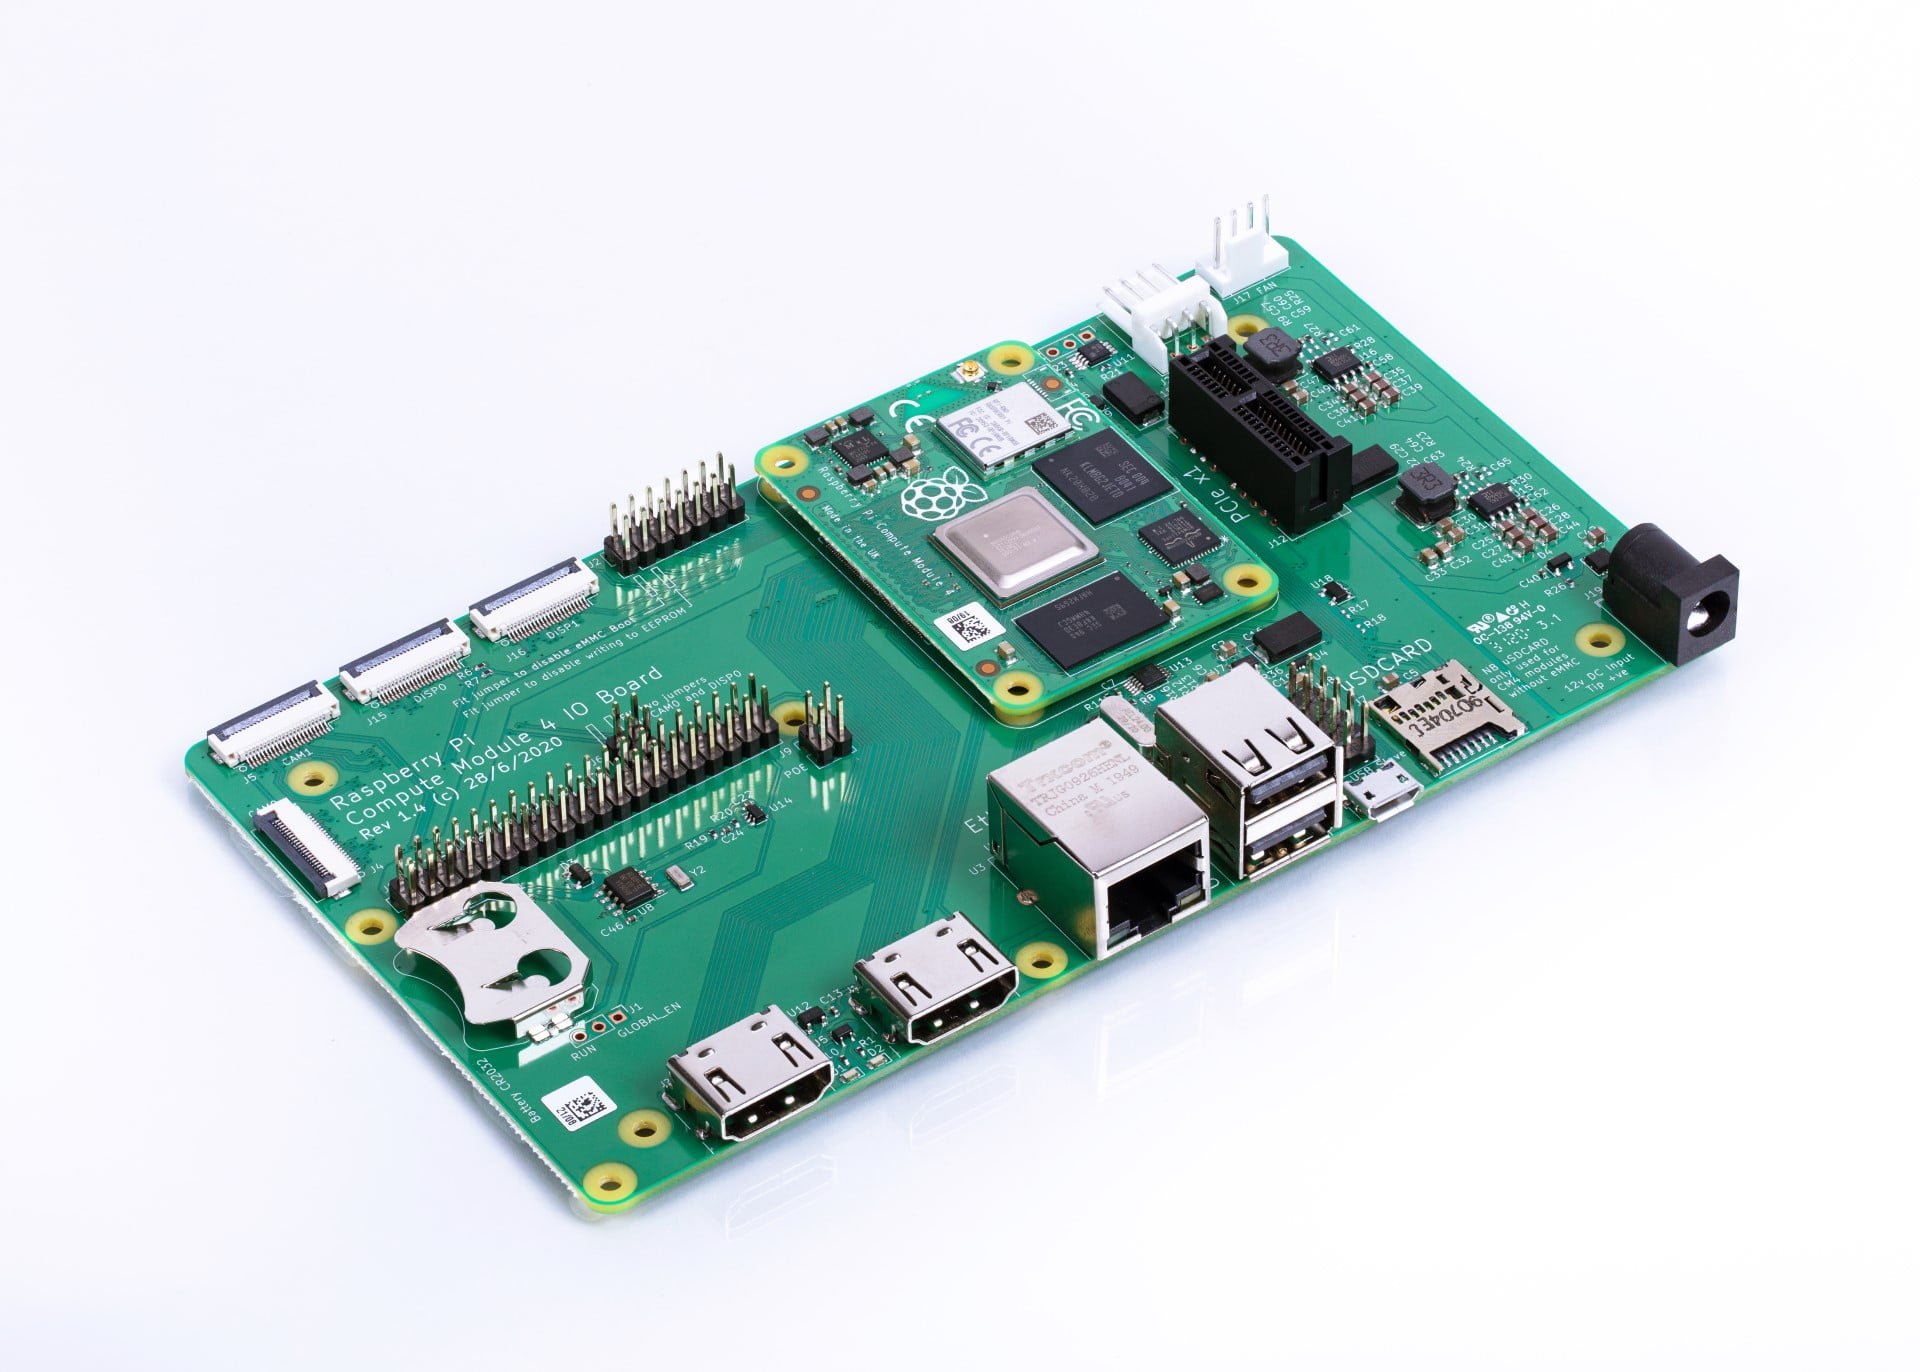
Hardware Requirements
Before diving into the setup process, it's essential to gather the necessary hardware components. Below is a list of items you'll need:
- Raspberry Pi board (any model)
- MicroSD card with pre-installed operating system
- Power supply
- Network cable or Wi-Fi dongle
- GPIO-compatible devices (e.g., sensors, relays, LEDs)
Software Setup for Raspberry Pi Remote IO
Once you have all the required hardware, the next step is to set up the software environment. This section will guide you through the process of installing and configuring the necessary software for remote IO operations.
Operating System Installation
Begin by installing a suitable operating system on your Raspberry Pi. The most popular choice is Raspberry Pi OS, which offers excellent support for GPIO and networking functionalities.
Enabling SSH
To enable remote access, you'll need to activate the SSH service on your Raspberry Pi. This can be done through the Raspberry Pi Configuration tool or by editing the configuration files manually.
Network Configuration
Proper network configuration is crucial for remote IO operations. This section will explain how to set up your Raspberry Pi to connect to a network and ensure secure communication.
Static IP Address
Assigning a static IP address to your Raspberry Pi ensures consistent connectivity and simplifies remote access.
Firewall Settings
Configure your firewall to allow incoming connections on the necessary ports, ensuring secure and reliable communication.
GPIO Pin Setup
The GPIO (General Purpose Input/Output) pins are the heart of Raspberry Pi's remote IO capabilities. This section will guide you through configuring and using these pins for your projects.
Pinout Diagram
Refer to the official Raspberry Pi GPIO pinout diagram to identify the correct pins for your devices.
Testing GPIO Pins
Use simple test scripts to verify the functionality of your GPIO pins and ensure proper connections.
Programming Languages for Remote IO
Raspberry Pi supports a wide range of programming languages, each with its own advantages for remote IO operations. Below are some of the most popular options:
- Python: Known for its simplicity and ease of use, Python is an excellent choice for beginners and advanced users alike.
- C++: Offers high performance and is ideal for resource-intensive applications.
- JavaScript (Node.js): Perfect for web-based projects and real-time data processing.
Automation with Raspberry Pi Remote IO
One of the primary applications of Raspberry Pi remote IO setups is automation. This section will explore how to use Raspberry Pi to automate various tasks and processes.
Creating Automation Scripts
Write custom scripts to automate tasks such as turning devices on/off, monitoring sensor data, and triggering actions based on predefined conditions.
Integrating with Third-Party Services
Combine Raspberry Pi with cloud-based services to enhance its automation capabilities and expand its reach.
Troubleshooting Common Issues
Despite careful planning, issues can arise during the setup process. This section will address some common problems and provide solutions to help you overcome them.
Connection Problems
If you encounter connection issues, verify your network settings and ensure all devices are properly connected.
GPIO Pin Malfunctions
Check for loose connections or damaged pins if your GPIO setup doesn't work as expected.
Conclusion and Next Steps
In conclusion, setting up Raspberry Pi for remote IO operations is a powerful way to enhance your projects and unlock new possibilities. By following the steps outlined in this guide, you can create efficient, scalable, and cost-effective solutions tailored to your needs.
We encourage you to share your experience with Raspberry Pi remote IO setups and explore other articles on our website for more insights and tips. Don't forget to leave a comment below and let us know how this guide helped you!
References:
- Raspberry Pi Official Documentation: https://www.raspberrypi.org/documentation/
- Python GPIO Library: https://pypi.org/project/RPi.GPIO/
- Raspberry Pi OS: https://www.raspberrypi.org/software/operating-systems/