Are you looking for a way to remotely access your Raspberry Pi from a Windows 10 device, even when it’s behind a firewall or router? You’ve come to the right place. Remote access to your Raspberry Pi can unlock countless possibilities, from managing IoT projects to running servers or experimenting with coding. However, setting up remote access can be tricky when firewalls and routers come into play. This guide will walk you through the process step by step, ensuring you can securely and efficiently connect to your Raspberry Pi.
Remote access is an essential tool for anyone using a Raspberry Pi for serious projects. Whether you're managing a home automation system, hosting a web server, or simply tinkering with your Pi, being able to access it from anywhere can save time and effort. However, navigating firewalls and router settings can be daunting, especially for beginners. This article will explain everything you need to know in simple terms, ensuring you can follow along even if you're new to networking or Raspberry Pi.
In this guide, we’ll cover various methods for setting up remote access, including SSH, port forwarding, and using third-party tools. By the end of this article, you’ll have a clear understanding of how to configure your Raspberry Pi and router for secure remote access. Let’s dive in!
Read also:Kat K Drama A Comprehensive Guide To Korean Tv Series
Table of Contents
Introduction to Remote Access
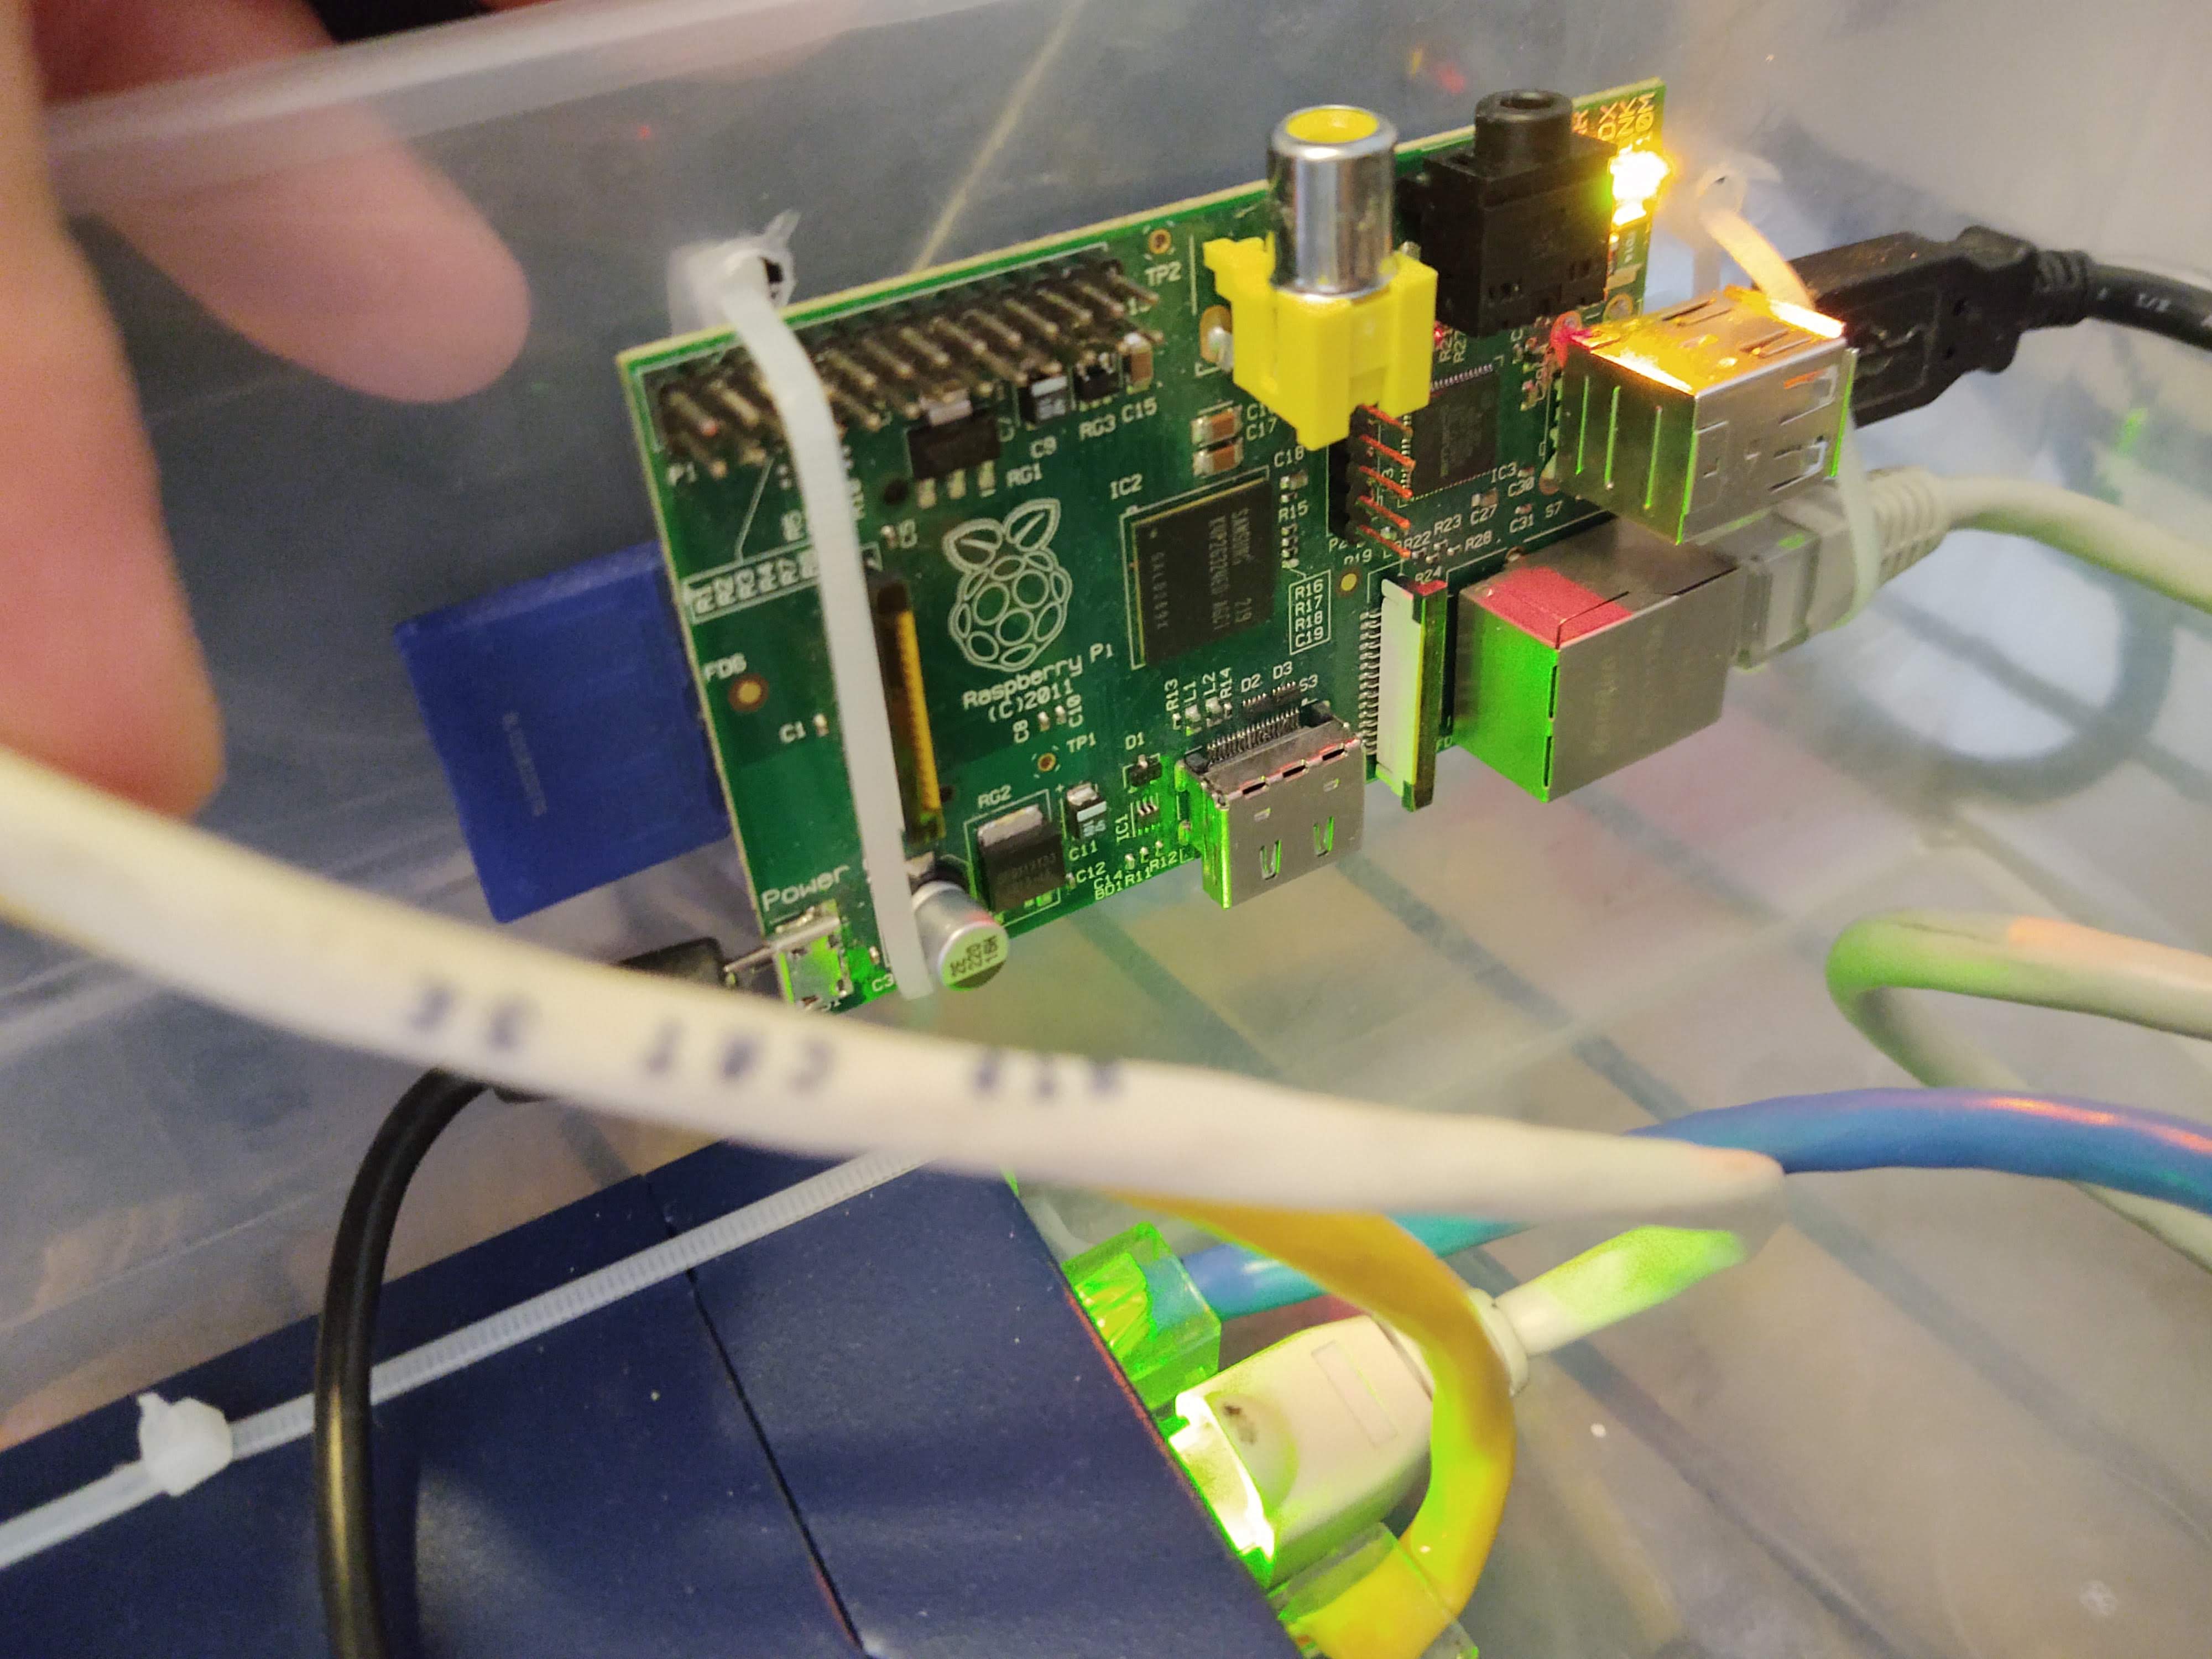
Remote access allows you to control and interact with your Raspberry Pi from another device, such as a Windows 10 PC, without being physically present. This is particularly useful when your Raspberry Pi is located in a different room, building, or even country. Remote access is commonly achieved using protocols like SSH (Secure Shell) or VNC (Virtual Network Computing).
One of the challenges of remote access is dealing with firewalls and routers. These security measures are designed to protect your network from unauthorized access, but they can also block legitimate connections. To overcome this, you’ll need to configure your router and Raspberry Pi properly, which we’ll cover in detail later in this article.
Prerequisites
Before you begin setting up remote access, make sure you have the following:
- A Raspberry Pi running Raspberry Pi OS or another compatible operating system.
- A Windows 10 PC with internet access.
- Access to your router’s admin panel (usually via a web browser).
- Basic knowledge of networking concepts like IP addresses and ports.
Setting Up SSH on Raspberry Pi
SSH is one of the most common methods for remotely accessing a Raspberry Pi. It provides a secure way to connect to your Pi and execute commands from a terminal.
Step 1: Enable SSH on Raspberry Pi
To enable SSH on your Raspberry Pi, follow these steps:
- Open the Raspberry Pi Configuration tool by clicking on the Raspberry Pi icon in the top-left corner and navigating to Preferences > Raspberry Pi Configuration.
- Go to the Interfaces tab and enable SSH.
- Click OK to save your changes.
Step 2: Find Your Raspberry Pi's IP Address
You’ll need the IP address of your Raspberry Pi to connect to it remotely. You can find this by running the following command in the terminal:
Read also:Exploring The Largest Hospital In The World A Comprehensive Guide
hostname -I
Step 3: Connect to Raspberry Pi from Windows 10
On your Windows 10 PC, you can use an SSH client like PuTTY or the built-in Windows Terminal to connect to your Raspberry Pi. Use the following command:
ssh pi@your_raspberry_pi_ip_address
Configuring Port Forwarding on Your Router
Port forwarding allows external devices to connect to your Raspberry Pi through your router. By default, SSH uses port 22, but you can configure it to use a different port for added security.
Step 1: Access Your Router's Admin Panel
Open a web browser and enter your router’s IP address (commonly 192.168.0.1 or 192.168.1.1). Log in using your admin credentials.
Step 2: Set Up Port Forwarding
In the router settings, locate the Port Forwarding section and add a new rule:
- External Port: The port you want to use for remote access (e.g., 2222).
- Internal IP Address: Your Raspberry Pi’s IP address.
- Internal Port: 22 (default SSH port).
Using Dynamic DNS for Remote Access
If your internet service provider assigns you a dynamic IP address, you’ll need a Dynamic DNS (DDNS) service to maintain a consistent hostname for remote access.
Step 1: Choose a DDNS Provider
Popular DDNS providers include No-IP, Dynu, and DuckDNS. Sign up for an account and create a hostname.
Step 2: Configure DDNS on Your Router
Most modern routers support DDNS. Enter your DDNS provider’s details in the router settings to automatically update your hostname whenever your IP address changes.
Third-Party Tools for Remote Access
While SSH and port forwarding are effective, third-party tools can simplify the process of remote access.
TeamViewer
TeamViewer is a popular remote desktop tool that doesn’t require port forwarding. Simply install the TeamViewer client on both your Raspberry Pi and Windows 10 PC.
RealVNC
RealVNC provides a graphical interface for remote access. It’s included with Raspberry Pi OS and can be enabled in the Raspberry Pi Configuration tool.
Securing Your Remote Connection
Security is crucial when setting up remote access. Here are some tips to protect your Raspberry Pi:
- Change the default username and password for your Raspberry Pi.
- Use key-based authentication instead of password-based authentication for SSH.
- Disable unused services and ports on your router.
Troubleshooting Common Issues
If you’re having trouble setting up remote access, here are some common issues and solutions:
- Connection Refused: Ensure SSH is enabled on your Raspberry Pi and the correct port is open on your router.
- IP Address Changes: Use a DDNS service to maintain a consistent hostname.
- Firewall Blocks: Check your firewall settings to ensure the necessary ports are allowed.
Advanced Tips for Remote Access
For users looking to take their remote access setup to the next level, consider these advanced tips:
- Set up a VPN (Virtual Private Network) for secure remote access.
- Use a reverse SSH tunnel to bypass firewall restrictions.
- Automate tasks on your Raspberry Pi using cron jobs.
Conclusion
Setting up remote access to your Raspberry Pi behind a firewall or router on Windows 10 is a valuable skill that can enhance your projects and productivity. By following the steps outlined in this guide, you can securely connect to your Raspberry Pi from anywhere in the world. Whether you choose to use SSH, port forwarding, or third-party tools, the possibilities are endless.
Now that you’ve learned how to set up remote access, why not share your experience with others? Leave a comment below or explore more articles on our site to deepen your knowledge of Raspberry Pi and networking. Happy tinkering!