Connecting to your Raspberry Pi remotely via SSH using RemoteIoT VPC can significantly enhance your IoT capabilities without incurring additional costs. This guide explores how to set up a secure and efficient remote connection, empowering you to manage your devices seamlessly from anywhere.
In today's interconnected world, remote access to IoT devices has become a necessity rather than a luxury. Whether you're a hobbyist or a professional, understanding how to configure a remote IoT VPC SSH Raspberry Pi free setup is crucial for maximizing your project's potential. By following this guide, you'll gain the knowledge needed to establish secure connections and streamline your IoT operations.
This article provides step-by-step instructions, valuable tips, and expert insights to help you master the process. We'll cover everything from setting up your Raspberry Pi to configuring VPC and ensuring secure SSH connections. By the end of this guide, you'll be well-equipped to deploy and manage your IoT projects efficiently.
Read also:Who Is The New James Bond 2025 Discover The Next Iconic Spy
Table of Contents
- Introduction to RemoteIoT VPC SSH Raspberry Pi Free
- Setting Up Your Raspberry Pi
- Configuring VPC for Remote Access
- Establishing SSH Connections
- Security Best Practices for RemoteIoT
- Troubleshooting Common Issues
- Benefits of Using RemoteIoT VPC SSH Raspberry Pi Free
- Cost Analysis: Why Choose Free Options?
- Exploring Advanced Features
- Conclusion and Next Steps
Introduction to RemoteIoT VPC SSH Raspberry Pi Free
RemoteIoT VPC SSH Raspberry Pi free setup offers a cost-effective solution for managing IoT devices remotely. By leveraging the power of Raspberry Pi and secure SSH protocols, users can access their devices from anywhere in the world without investing in expensive hardware or software.
Why Choose RemoteIoT?
RemoteIoT provides a robust platform for IoT enthusiasts and professionals alike. Its compatibility with Raspberry Pi and seamless integration with VPC ensures a reliable and secure connection. Additionally, the free setup option makes it accessible to users with varying budgets.
Key advantages of using RemoteIoT include:
- Enhanced security through encrypted SSH connections.
- Scalability for managing multiple IoT devices.
- Cost-effectiveness with no hidden fees.
Setting Up Your Raspberry Pi
Before diving into the RemoteIoT VPC SSH Raspberry Pi free setup, it's essential to ensure your Raspberry Pi is properly configured. Follow these steps to prepare your device:
Step 1: Installing the Operating System
Begin by installing the latest version of Raspberry Pi OS. You can download the image from the official Raspberry Pi website and use tools like BalenaEtcher to flash it onto an SD card.
Step 2: Configuring Network Settings
Set up your Raspberry Pi to connect to your local network. This can be done through Wi-Fi or Ethernet, depending on your preference and setup requirements.
Read also:Somali Telegram Link 2022 Your Ultimate Guide To Reliable Channels
Step 3: Enabling SSH
To enable SSH on your Raspberry Pi, navigate to the Raspberry Pi Configuration tool and select the Interfaces tab. Ensure SSH is enabled, allowing you to connect remotely.
Configuring VPC for Remote Access
Configuring a Virtual Private Cloud (VPC) is crucial for securing your IoT devices and enabling remote access. Follow these guidelines to set up your VPC effectively:
Understanding VPC Basics
A VPC acts as a private network for your devices, isolating them from the public internet. This setup enhances security and ensures only authorized users can access your IoT devices.
Steps to Configure VPC
- Create a new VPC through your cloud provider's console.
- Set up subnets and security groups to define access rules.
- Assign your Raspberry Pi to the VPC by configuring its network settings.
Establishing SSH Connections
Once your Raspberry Pi and VPC are configured, it's time to establish an SSH connection. This process involves several key steps:
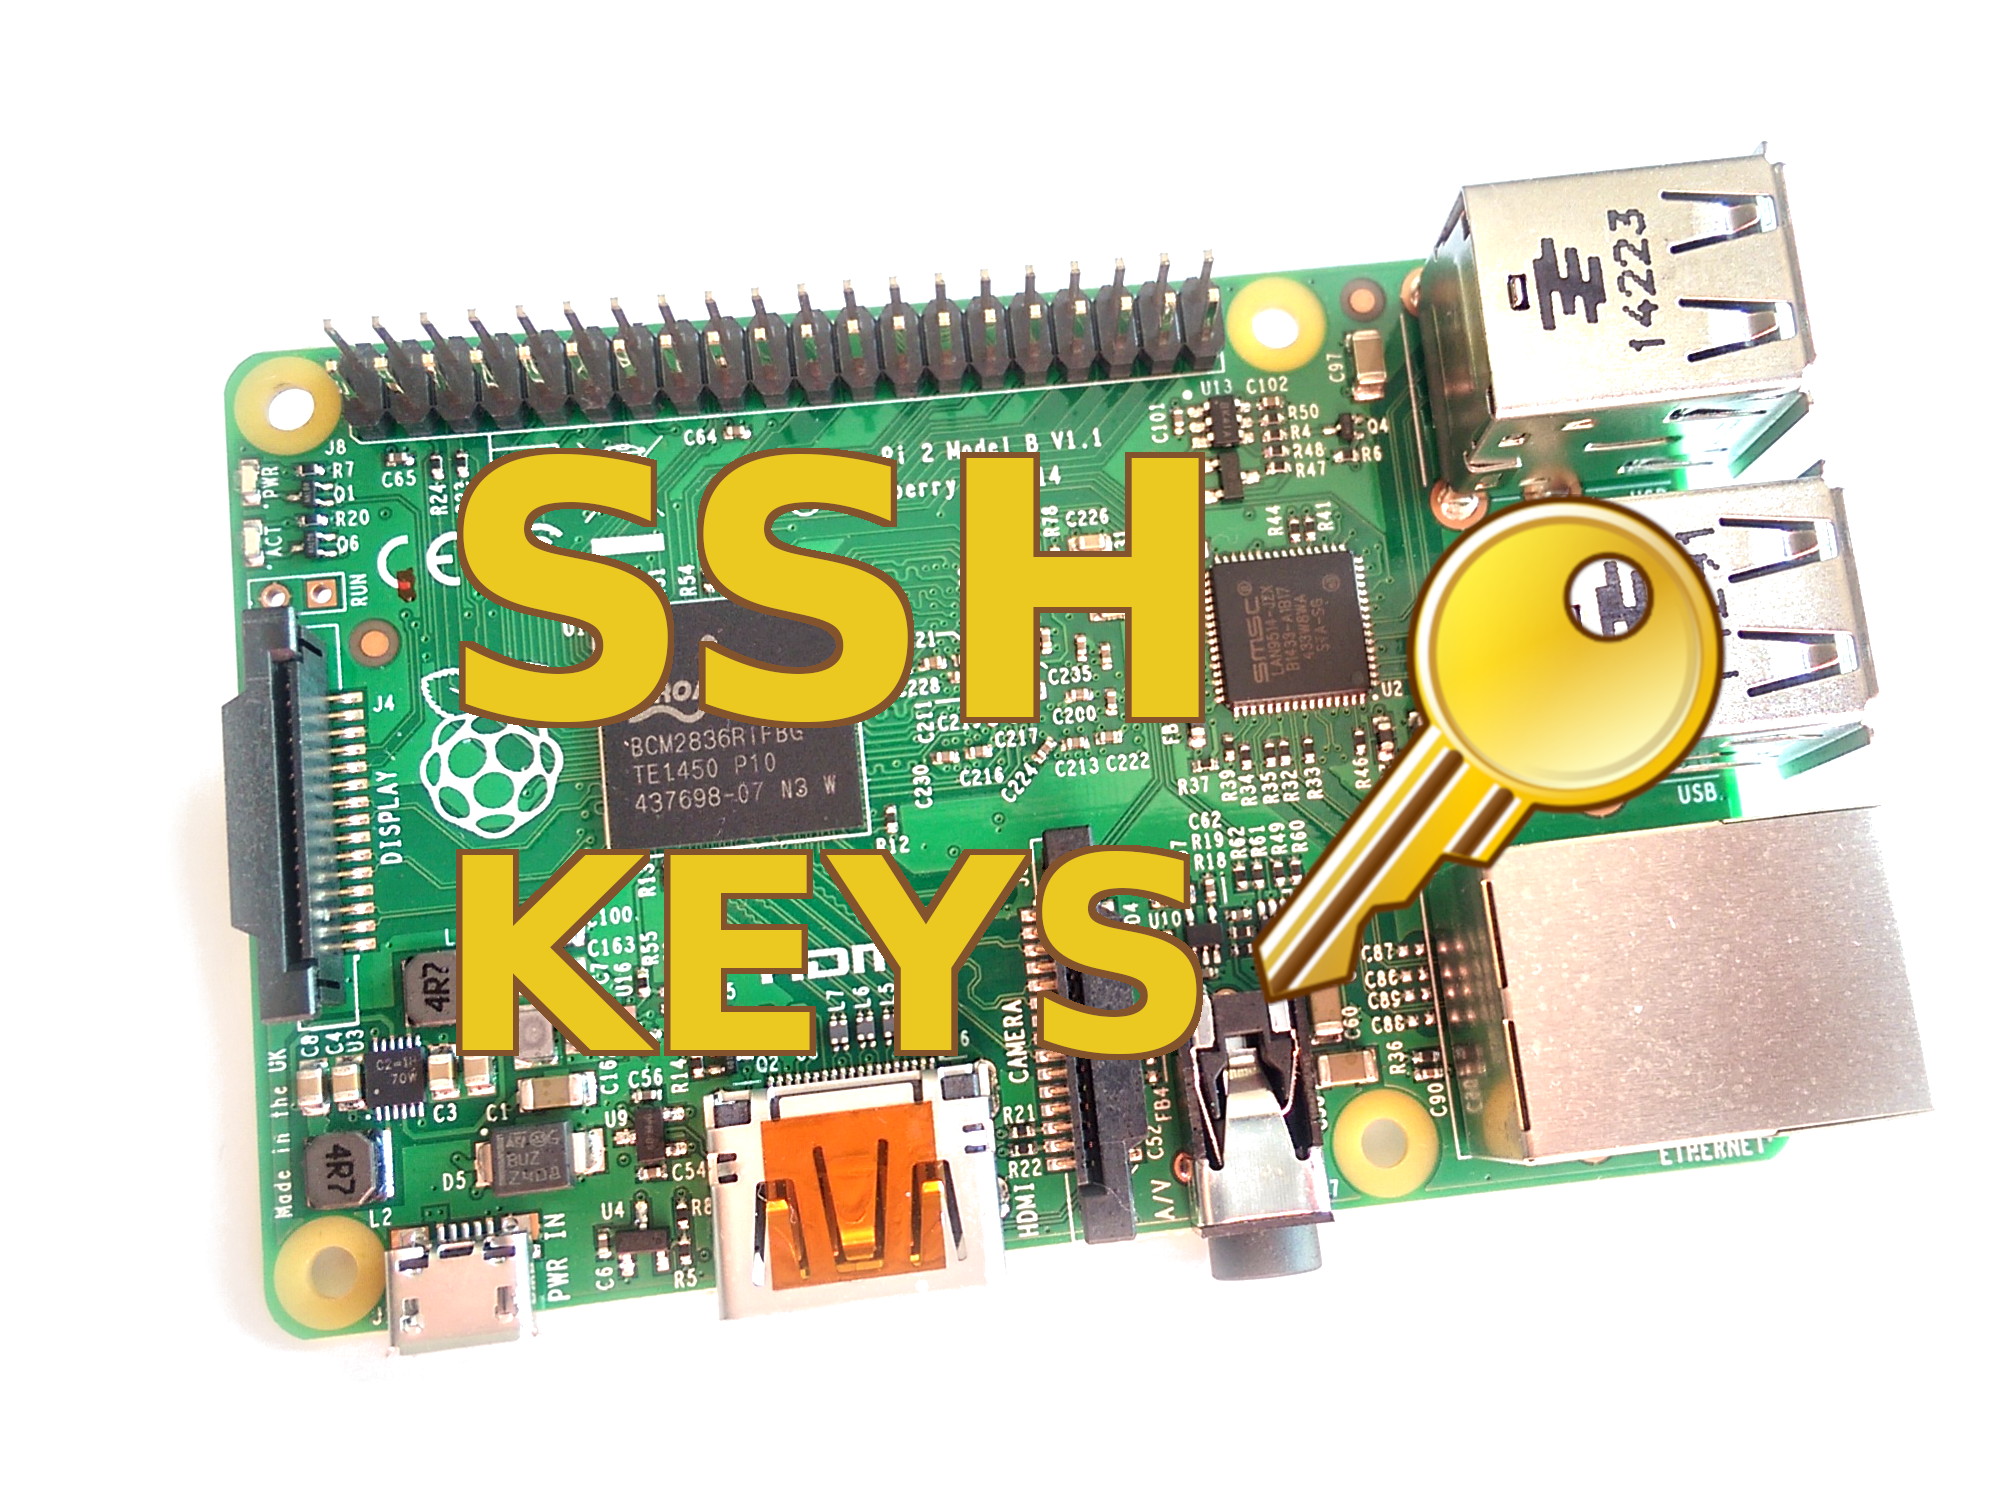
Step 1: Generating SSH Keys
Create a pair of SSH keys using tools like ssh-keygen. Store the private key securely on your local machine and upload the public key to your Raspberry Pi.
Step 2: Connecting via SSH
Use an SSH client, such as PuTTY or the terminal, to connect to your Raspberry Pi. Enter the IP address, username, and private key when prompted to authenticate the connection.
Security Best Practices for RemoteIoT
Securing your IoT devices is paramount when setting up remote access. Here are some best practices to follow:
1. Use Strong Passwords
Ensure all accounts, including SSH, use strong, unique passwords. Avoid using default credentials to minimize security risks.
2. Regularly Update Software
Keep your Raspberry Pi OS and all installed software up to date. Regular updates address vulnerabilities and enhance system performance.
3. Implement Firewall Rules
Configure firewall settings to restrict access to your Raspberry Pi. Only allow connections from trusted IP addresses and disable unnecessary ports.
Troubleshooting Common Issues
Even with careful setup, issues may arise. Here are some common problems and their solutions:
Issue 1: Unable to Connect via SSH
Ensure SSH is enabled on your Raspberry Pi and verify the IP address and port number. Check your firewall settings to confirm they aren't blocking the connection.
Issue 2: Slow Connection Speeds
Optimize your network configuration by reducing latency and ensuring a stable internet connection. Consider using Ethernet over Wi-Fi for improved performance.
Benefits of Using RemoteIoT VPC SSH Raspberry Pi Free
Adopting a RemoteIoT VPC SSH Raspberry Pi free setup offers numerous advantages:
1. Cost-Effective Solution
By utilizing free tools and services, you can manage your IoT devices without incurring significant expenses. This makes it ideal for hobbyists and small-scale projects.
2. Enhanced Security
RemoteIoT's integration with VPC and SSH ensures your devices are protected from unauthorized access. This level of security is crucial for maintaining data integrity.
3. Scalability
As your IoT projects grow, RemoteIoT can easily accommodate additional devices and connections. Its flexible architecture supports expansion without compromising performance.
Cost Analysis: Why Choose Free Options?
Choosing a free RemoteIoT VPC SSH Raspberry Pi setup allows you to allocate resources more efficiently. By eliminating upfront costs, you can focus on developing and enhancing your IoT projects. Additionally, many free tools offer robust features that rival paid alternatives, making them a viable option for most users.
Exploring Advanced Features
Once you've mastered the basics, consider exploring advanced features to further enhance your setup:
1. Automation Scripts
Use automation scripts to streamline repetitive tasks and improve efficiency. Tools like cron jobs can schedule commands to run at specified intervals.
2. Data Monitoring
Implement monitoring solutions to track device performance and gather valuable insights. This data can help optimize your IoT projects and identify potential issues.
Conclusion and Next Steps
In conclusion, setting up a RemoteIoT VPC SSH Raspberry Pi free configuration empowers you to manage your IoT devices remotely with ease and security. By following the steps outlined in this guide, you can create a robust and efficient setup tailored to your needs.
We encourage you to share your experience and insights in the comments below. Additionally, explore other articles on our site to deepen your knowledge of IoT technologies. Together, let's build a connected future!
References: